
In this guide, we'll unpack the photovoltaic module bracket installation method that actually keeps panels grounded (literally) while maximizing ROI. A 2023 NREL study revealed that three-quarters of solar system underperformance links directly to racking and mounting. 1,Determine the installation location: First, you need to determine the installation location of the solar mounting bracket, usually on a flat roof or on the ground. Whether you're working on a tile roof, metal roof, or ground-mounted setup, proper bracket installation guarantees safety and optimal energy harvest.
Ensure proper grounding of the photovoltaic system. Rail specifications: 2m length, 50mm width, 3mm thickness. Fastener type: Aluminum alloy clamps. Tilt angle: Adjusted based on roof slope, typically 15° to 30°.
A 2023 NREL study revealed that three-quarters of solar system underperformance links directly to racking and mounting issues. But before you start drilling holes willy-nilly, consider this: Let's break down the installation method that separates pros from weekend warriors:.
The installation typically involves securing attachments like Stainless Steel Roof Hooks to the roof's structural rafters. Rails are then fastened to these hooks, and the solar panels are clamped onto the rails. The key challenge is ensuring all roof penetrations are perfectly. The Side of Pole Mount is a simple and universal pole mounting solution for small area solar photovoltaic (PV) needs. In the figure,A represents the permissible overlap distance between the module frame and bracket Table 5 lists the recommended bolts and associated. Building a robust foundation bracket for photovoltaic panels is critical for ensuring the longevity and efficiency of solar installations.

nsiders the effects of wind loading on PV arrays including the mounting system. This technical note further highlights the consideration that should be made to ensure that a photovoltaic (PV) solar system is designed,tested and ins alled to resist the wind pressures that may be i. Solar photovoltaic bracket is a special bracket designed for placing, installing and fixing solar panels in solar photovoltaic power generation systems. The general materials are aluminum alloy, carbon steel and stainless steel. The Protea Bracket fits most trapezoidal sheet profiles, including preassembled foam-core panels (IMPs - Insulated Metal Panels). Its stability directly affects the components' integrity, power output, and overall asset life. This can lead to weld or joint fractures, panel detachment.
Beam specifications: 2m length, 50mm width, 3mm thickness. Tilt angle: Adjusted based on latitude, typically latitude +10°. Rooftop Bracket Installation Inspect the roof to ensure it can support the.
This installation manual describes proper installation procedures and provides necessary standards required for product reliability. Warranty details are available on www.
Meta Description: Discover the complete 10-step process for installing double column photovoltaic panels, with expert tips on foundation depth calculations, load distribution, and 2024-compliant safety protocols. Includes downloadable checklist and torque specifications table.
The cost of solar cell brackets varies significantly based on several factors, including types of materials, manufacturing processes, and installation requirements. On average, homeowners can expect to pay between $10 to $50 for each bracket.
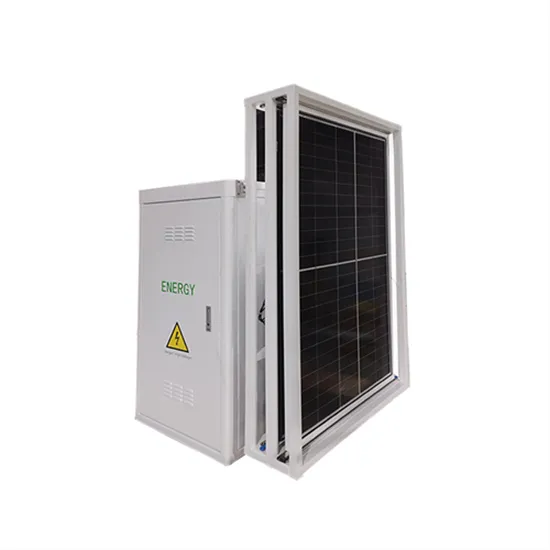
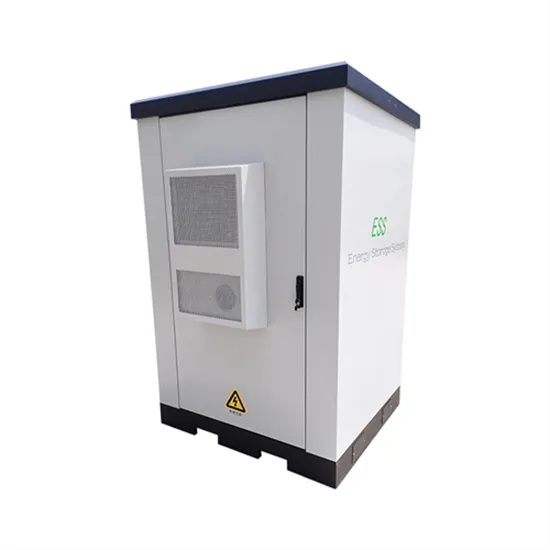
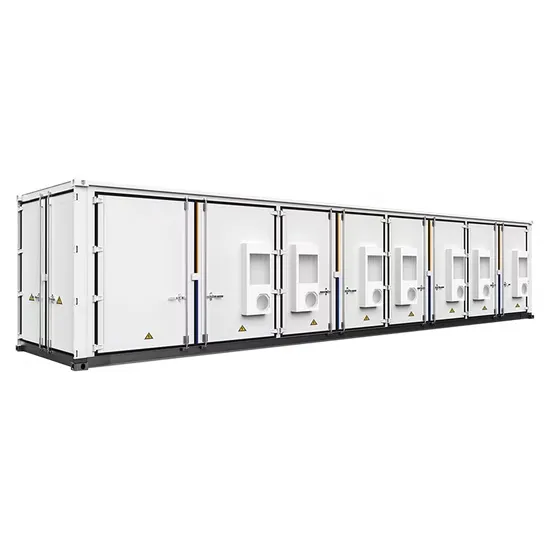
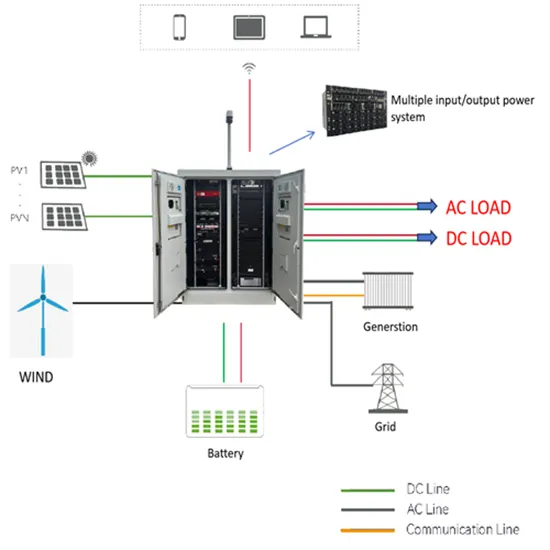
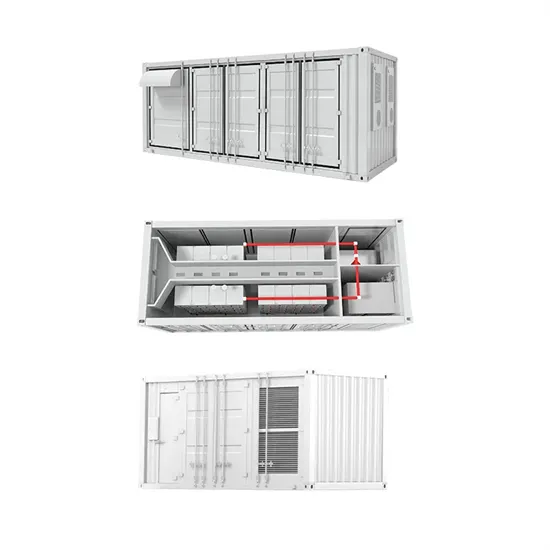
PEYRON ENERGY delivers PV containers, industrial & residential storage, off-grid systems, mobile power, and integrated energy for any application. Request a free consultation and get a custom quote for your project.
Have questions about photovoltaic containers, commercial/residential storage, off-grid, or integrated energy solutions? Reach out – we're here to help.